ubuntu源码编译安装hue 简介 Hue是一个开源的Apache Hadoop UI系统,最早是由Cloudera Desktop演化而来,
功能介绍 数据库查询编辑器,支持 Hive, Impala, MySql, PostGres, Sqlite and Oracle
安装包下载地址 https://github.com/cloudera/hue/releases/tag/release-4.10.0
创建用户组及用户 1 2 3 4 5 groupadd hue hue hue -m -s /bin/bashhue # 为hue 用户设置密码为hue hue .hue /opt/hue -release-4.10 .0 hue
hosts文件配置 1 2 3 4 5 6 7 8 9 10 11 12 13 hue@utopa:/opt/hue-release-4 .10 .0 $ cat /etc/hosts127.0.0.1 localhost127.0.1.1 utopa1 ip6-localhost ip6-loopback0 ip6-localnet0 ip6-mcastprefix1 ip6-allnodes2 ip6-allrouters10.10.27.70 zk.had01 GT7010.10.27.8 zk.had02 root-RiskCtrl10.187.100.120 zk.had03 selenium-test
环境要求 前置条件
maven3.6
jdk1.8
mysql8.0
python2.7
npm
1 2 3 4 get install mavenget install npmget install mysql
1 sudo apt-get install ant gcc g++ libkrb5-dev libffi-dev libmysqlclient-dev libssl-dev libsasl2-dev libsasl2-modules-gssapi-mit libsqlite3-dev libtidy-0.99 -0 libxml2-dev libxslt-dev make libldap2-dev maven python-dev python-setuptools libgmp3-dev
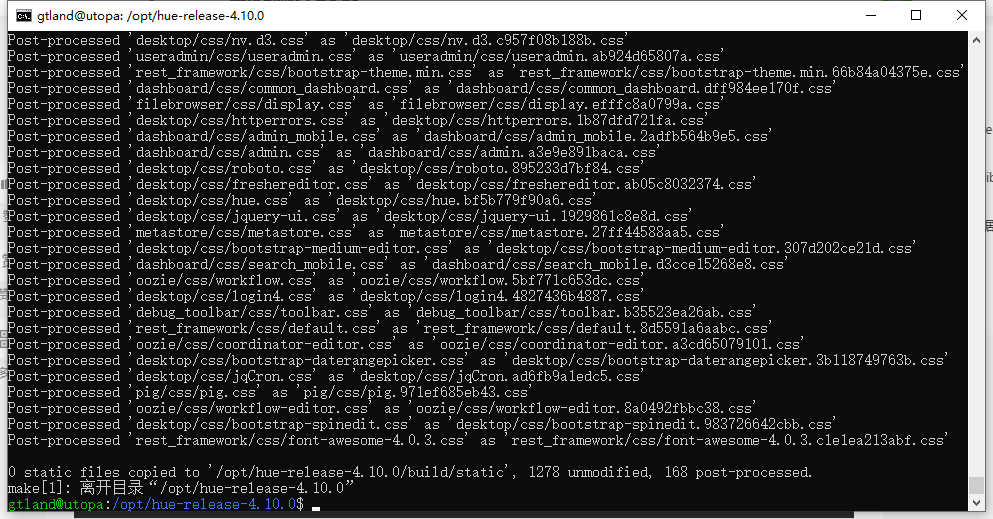
编译安装 1 2 cd /opt/hue-release-4 .10 .0 sudo make apps
修改配置文件 1 vi /home/ hue/hue/ desktop/conf/ pseudo- distributed .ini
1 2 3 4 5 [desktop] secret_key =malsjljljwrlwerwelapp_blacklist =impala,security,filebrowser,jobbrowser,rdbms,jobsub,pig,hbase,sqoop,zookeeper,metastore,spark,oozie,indexer
1 2 3 4 5 6 7 8 9 10 11 12 13 [[database]] engine =mysqlhost =192.168 .221.130 port =3306 user =huepassword =huename =hue
初始化数据库 创建数据库,数据库:hue,用户:hue,密码:hue
1 2 3 4 CREATE DATABASE IF NOT EXISTS hue DEFAULT CHARSET utf8 COLLATE utf8_general_ci;CREATE USER 'hue' @'%' IDENTIFIED BY 'hue' ;GRANT ALL PRIVILEGES ON hue.* TO 'hue' @'%' ;PRIVILEGES ;
初始化数据库
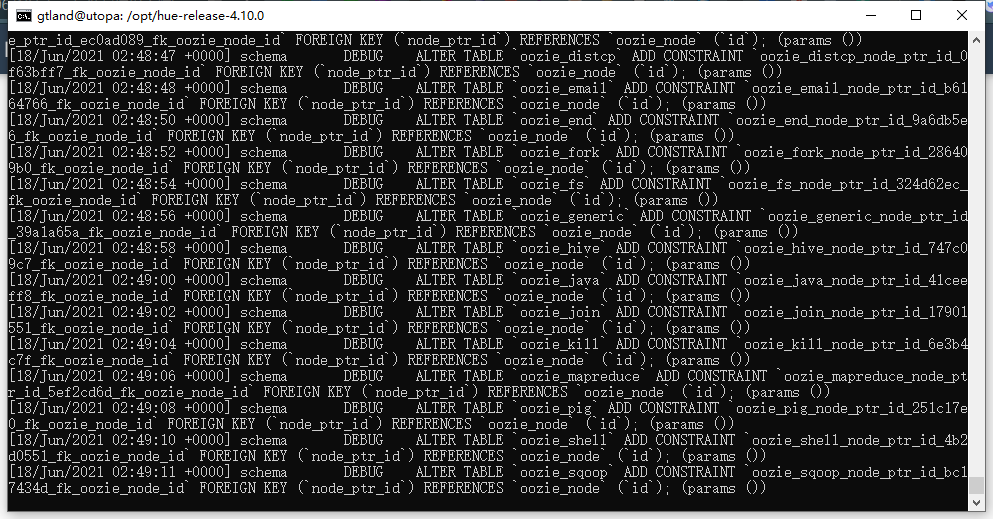
1 2 sudo ./build/ env/bin/ hue syncdb/build/ env/bin/ hue migrate
启动系统服务,并通过浏览器访问 1 sudo chown -R gtland.gtland /opt/hue-release-4 .10 .0
启动服务:
1 nohup ./build/ env/bin/ supervisor >>/dev/ null 2 >&1 &
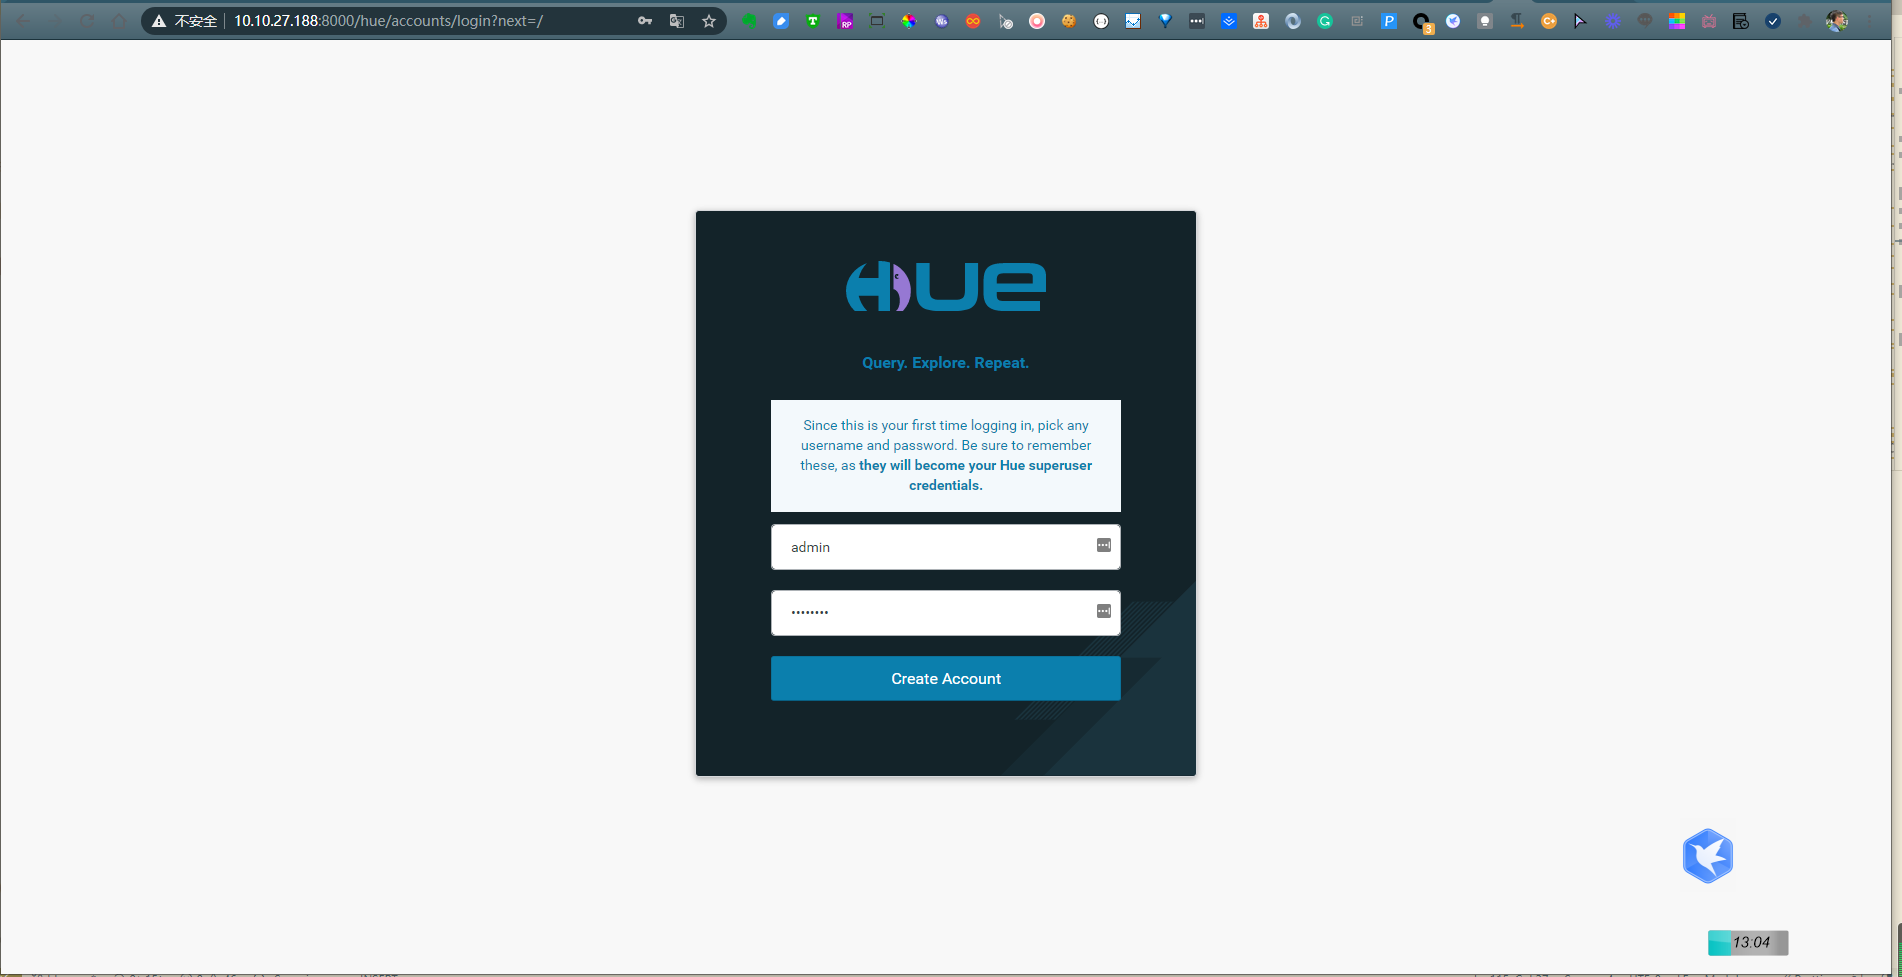
浏览器访问:
启动与关闭:
1 2 3 4 5 6 7 /usr/ local/hue/ build/env/ bin
HUE 集成Hadoop 1、修改core-site.xml
1 2 cd /opt/hadoop-2 .10 .1 /etc/hadoopvi core-site.xml
1 2 3 4 5 6 7 8 <property > <name > hadoop.proxyuser.hue.hosts</name > <value > *</value > </property > <property > <name > hadoop.proxyuser.hue.groups</name > <value > *</value > </property >
2、修改hdfs-site.xml
1 2 cd /opt/hadoop-2 .10 .1 /etc/hadoopvi hdfs-site.xml
1 2 3 4 <property > <name > dfs.webhdfs.enabled</name > <value > true</value > </property >
修改httpfs-site.xml
1 2 3 4 5 6 7 8 <property > <name > httpfs.proxyuser.hadoop.hosts</name > <value > *</value > </property > <property > <name > httpfs.proxyuser.hadoop.groups</name > <value > *</value > </property >
3、重启 HDFS
4、修改 pseudo-distributed.ini
1 sudo vi pseudo-distributed.ini
1 2 3 4 5 6 7 8 9 10 11 12 13 14 15 16 17 18 19 20 21 [hadoop] [[hdfs_clusters]] [[[default]]] fs_defaultfs =hdfs://10.10 .27.70 :9000 webhdfs_url =http://10.10 .27.70 :50070 /webhdfs/v1 is_enabled =true
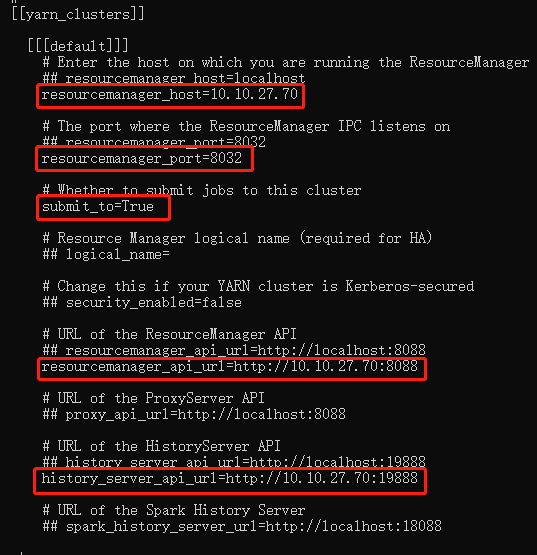
HUE 集成yarn 1.修改hue的配置文件( pseudo-distributed.ini)
2.开启yarn日志聚合服务
修改 hadoop的配置文件(yarn-site.xml)
1 2 3 4 5 6 7 8 9 10 11 <property > <name > yarn.log-aggregation-enable</name > <value > true</value > </property > <property > <name > yarn.log-aggregation.retain-seconds</name > <value > 106800</value > </property >
3.重启yarn,hue
重启hadoop集群
1 2 stop -all -sh all .sh
重启hue
1 2 3 su huecd /opt/hue-release-4.10.0/opt/hue-
HUE集成Hbase Hbase配置文件-hbase-site.xml
1 2 3 4 5 6 7 8 9 <property > <name > hbase.thrift.support.proxyuser</name > <value > true</value > </property > <property > <name > hbase.regionserver.thrift.http</name > <value > true</value > </property >
core-site.xml添加
1 2 3 4 5 6 7 8 9 10 11 12 13 14 15 16 17 18 <property > <name > hadoop.proxyuser.hue.hosts</name > <value > *</value > </property > <property > <name > hadoop.proxyuser.hue.groups</name > <value > *</value > </property > <property > <name > hadoop.proxyuser.hadoop.hosts</name > <value > *</value > </property > <property > <name > hadoop.proxyuser.hadoop.groups</name > <value > *</value > </property >
1 sudo vi pseudo-distributed.ini
1 2 3 [hbase] hbase_conf_dir ={{HBASE_CONF_DIR}}thrift_transport =buffered
1 2 hbase-daemon.sh stop thrift.sh start thrift
HUE集成hive 1. 配置Hive
Hive数据存储在HDFS上,默认路径是【/user/hive/warehouse】(或者是在hive-site.xml中配置的hive.metastore.warehouse.dir),要确保这个路径存在,并且你创建数据表的用户对这个路径具有写权限。
1 2 3 4 5 6 7 8 9 10 11 12 13 14 15 16 17 18 <property > <name > hive.server2.thrift.port</name > <value > 10000</value > </property > <property > <name > hive.server2.thrift.bind.host</name > <value > yjt</value > </property > <property > <name > hive.metastore.uris</name > <value > thrift://yjt:9083</value > </property > <property > <name > hive.server2.long.polling.timeout</name > <value > 5000</value > </property >
2. 配置Hue
修改【HUE_HOME/desktop/conf】目录下的 pseudo-distributed.ini 关于beeswax的配置来集成Hive,这些配置位于[beeswax]
1 2 3 4 5 6 7 8 9 hive_server_host =zk.had01hive_server_port =10000 hive_conf_dir =/opt/hive/conf
3. 验证
3.1 准备测试数据
3.2 启动hive
需要同时启动hive的metastore和hiveserve2。
在zk.had01(10.10.27.70)的节点上
1 2 3 /opt/apache-hive-2.3.9/bin ./hive --service hiveserver2 --hiveconf hive.server2.thrift.port 10000 &./hive --service hiveserver2 &
matestore服务是Hive连接Mysql的metastore数据库用的。 hiveserver2服务是通过JDBC访问Hive用的,默认端口是:10000。
启动hiveWebInterface,通过网页访问hive
3.3 导入数据
1 2 /opt/apache-hive-2.3.9/bin
创建数据库
1 2 > create database my_test; > use my_test;
创建数据表
1 > create table department(name string, count int ) row format delimited fields terminated by '\t' ;
这里的 terminated by ‘\t’ 是与创建表时所声明的字段分隔符一致的。
导入数据
1 > load data local inpath '/usr/local/cdh-5.2.0/hive-0.13.1/department.txt' into table department;
查询
1 > select * from department;
issues Hue _mysql.c:44:10: fatal error: my_config.h: No such file or directory
1 2 3 4 5 I could not find any package for CentOS 8 with that file . However, I found the source file for 8.0 .11 on MySQL ’s official site .https ://dev.mysql.com/doc/dev/mysql-server/8.0 .11 /my__config_8h_source.htmla my_config.h file under /usr/include and copy the content of the source file to the file I just created. I was able to install MySQL-python module afterward.
hue使用hbase报错User: root is not allowed to impersonate admin
hadoop 的 core-site.xml
1 2 3 4 5 6 7 8 9 <property > <name > hadoop.proxyuser.xxx.hosts</name > <value > *</value > </property > <property > <name > hadoop.proxyuser.xxx.groups</name > <value > *</value > </property >
User: root is not allowed to impersonate admin
User:后面是什么xxx就是什么
1 sudo thrift --gen py /opt/ hbase-1.7 .0 /src/m ain/resources/ org/apache/ hadoop/hbase/ thrift2/hbase.thrift
Reference